Outcomes Framework - Create a Metric
In order to create a new metric, select the "Explore & Create New Metrics" from the top right of the Outcomes Dashboard.

You will then have the option to either start from scratch with a blank metric, or use one of Mirah’s existing templates:
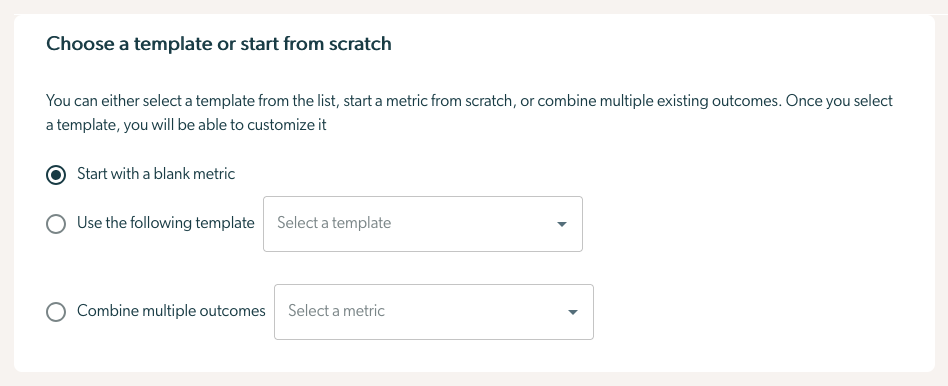
Starting with a template
If you start with a predefined template, statistics will immediately be available on the right hand side.
You may choose to change the metric before either downloading the data or saving the metric for continued monitoring.
Creating a metric from scratch
If you decide to create a metric from scratch, you will have to enter several key pieces of information before any statistics are visible:
- You must select the mode of metrics between single-scale metric and multi-scale metric.
- You must select one or more scales, for example the PHQ-9.
- You must select whether you are creating an Effectiveness or Efficiency Metric. If you are unsure which makes most sense, you should read Types of Metrics.
- For a Effectiveness Metrics you must select:
- The Cohort Type
- The Time Period
- Optionally select an Inclusion Criterion
- At least one Success Criterion
- For a Efficiency Metrics you must select:
- The Cohort Type
- Optionally select an Inclusion Criterion
- At least one Trigger Criteria
- You must select whether the metric should be displayed as a line chart or a column chart. Line charts are best used when you want to see how a single value changes over time, while column charts are best used to compare distinct values.
Once you have selected these details, statistics will appear on the right hand side of the page in the "Statistics" section which can be understood here.
See how to download this data for analysis here.
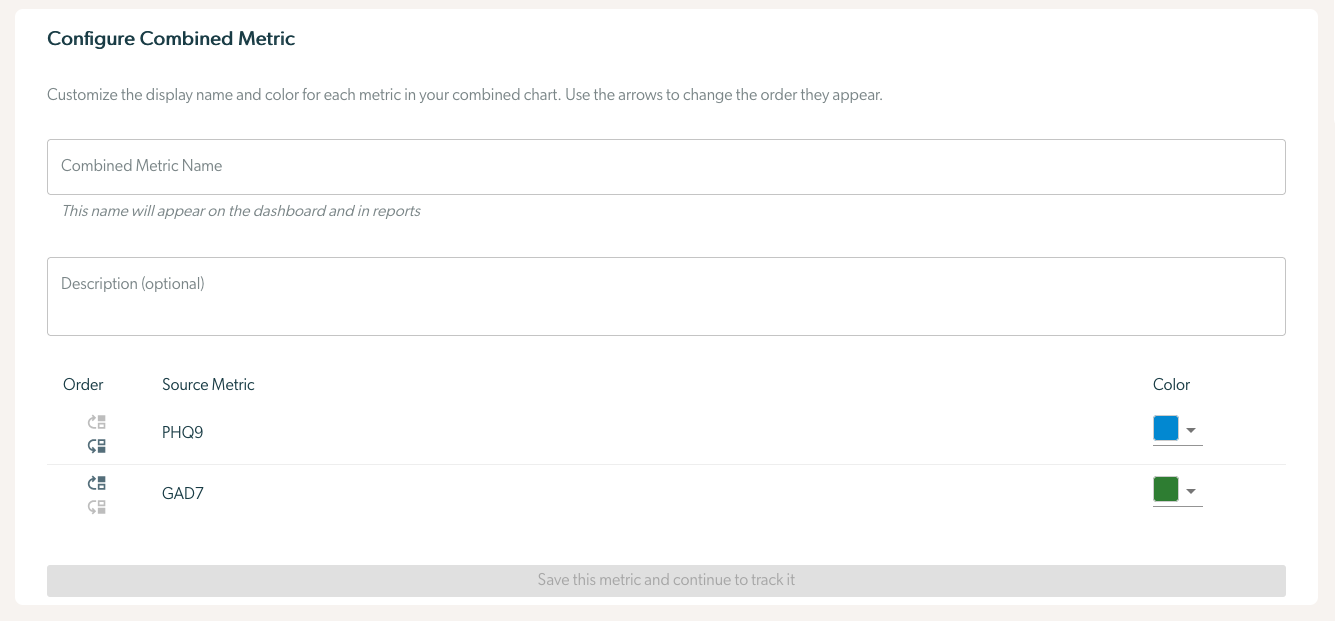
Creating a Combined Metric
To create a combined metric, enter the following information:
First, select the metrics you want to combine from the metric search:

Then, give the metric a name and select a color for each individual metric you're combining:
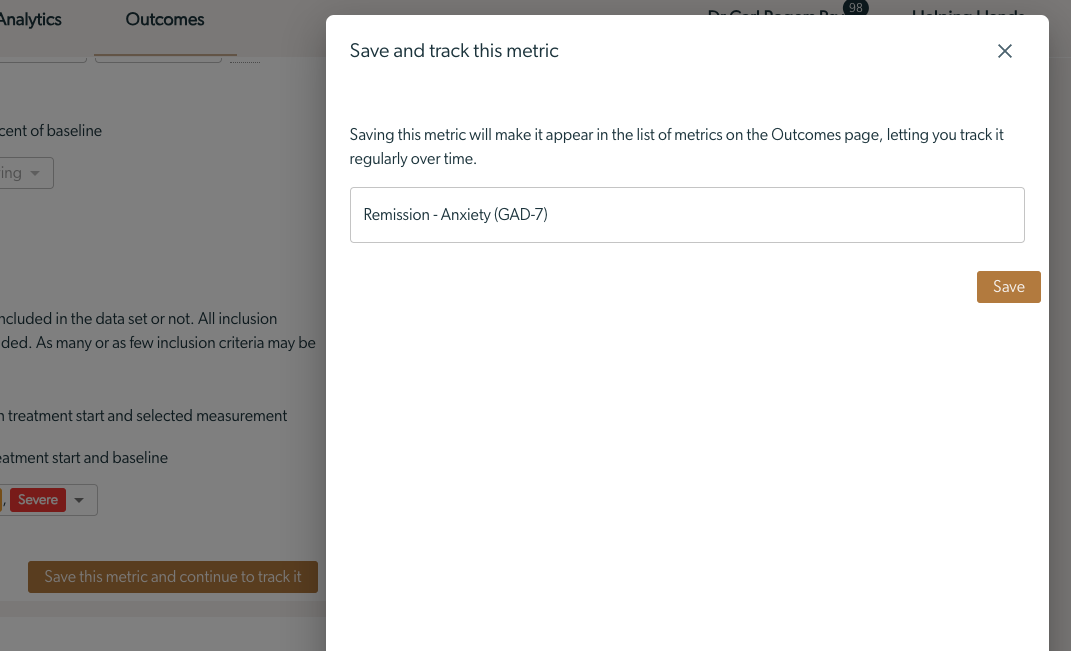
Saving metric for continued monitoring
If you want to continue to monitor the metric, you can press "Save this metric and continue to track it" at the bottom of the "Configure Your Metric" section.

You will be asked to give the metric a name. Once you save it, it will become available on the Metric Dashboard.